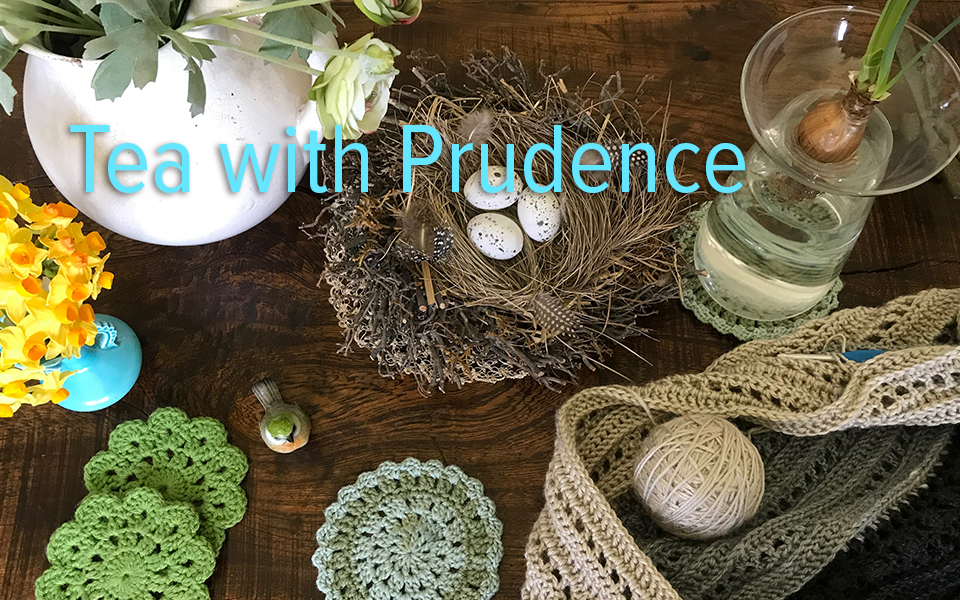
Hi all,
Super, super excited.........because......
It has taken most of my time for the last two days, but I managed to work my head around making a video tutorial (albeit simple), creating a youtube channel, and, uploading it to youtube.
Next step - embed it into this post.
Oh my gosh! I cannot tell you how excited I was when it finally uploaded, and my dearest one and I sat down to watch it. In fact, I couldn't even wait to eat my dinner, I sat and watched it with plate and fork in hand.
Trouble is, I just might have formed an addiction (already) and there goes all my bandwidth uploading videos.
Ah well.
Making crazy daisies into rocket science, but I hope you enjoy it.
cheers
Fi
Passing on the legacy of cherishing the joys of a simple life and making a home. For my daughter.
Monday, February 20, 2012
Friday, February 17, 2012
The Thing-a-my-bob aka Crazy Daisy Winder
Well, a few of you wanted to see what I would do with this thingamybob now that I know what it is!
My first attempts have been quite hilarious.
It seems that you make these daisy-like flowers, which look simple enough in themselves, BUT the possibilities of what you can do with them are endless.
I already have a few things in mind.
One of the main things is to crochet them together to make scarves, placemats, garments, anything really.
Here are a few pics of me trying to work out how to make one.
Now, I am not going to go into too much details in words what I'm doing - because -
I am going to attempt doing a video clip!
I have to master the art of youtube videos for my other blog - The Vintage Folk Painter- so I am going to try it out on you lot first!!!
So, here is the pictorial version.

Ok, ok, I know thats not it. But I'm still in blue-dresser-love-land. What do you think of those little crochet doilies hanging over the edge? I bought them on one of my nearly weekly trips to the vintagey/rustic/secondhand shop up at the Old Cheese Factory. Only cost pennies. And when you think of the time and effort put into making them.......
Anyway, enough of that.
Necessary supplies:
Thread - check
Scissors - check
Thingamybob aka Crazy Daisy Winder - check
Darning needle - check
Cup of tea - check

If you hold the Crazy Daisy Winder in your hand and twist the knob - out pops the spokes.

You have to hold the thread in place with your thumb to start.

Then you start winding.


Now when I got to about here, I realised that this was going to be a very thin flower with one strand of that thread......

.......so I started again, this time winding the crochet thread around each spoke 6 times.

After it is wound, you thread the darning needle and start on the centre.

The side that is facing you is actually the back of the flower.

Centre finished.
Now can you spot my mistake?
I wound it WAY too tightly.
See how the spokes won't turn down anymore than that? I had to actually cut this one off the winder.
Shame.

Ok. Take 3.
This one is wound on a lot looser.

I chose a different colour for the centre.


And voila! It is popping off the winder much easier.

And there is the completed flower.
Quite simple, but it's my first - ; )

Stay tuned for the video version - once I work out the camera.
cheers
Fi
Wednesday, February 15, 2012
Name this thing-a-me-bob
Does anyone recognise this?

A friend gave this to me some time ago with a smile on her face like she was presenting me with some great treasure.
And then she did what I was really hoping that she wouldn't do - she asked me if I knew what it was...
Now, when she handed it to me, I was thinking was, 'why on earth has she given me the rusted out lid of a really old teapot?'
Glad I didn't say that.
Apparently she found it at a local market and she knows it has something to do with needlecraft of some sort.
And, if you twiddle the knob - look what happens!

These spoky things pop out.
I am sure that it is really useful.
Can anyone enlighten me as to why?
cheers
Fi
Tuesday, February 14, 2012
The Great Craft Studio Clean Out of 2012
Yep, that's definitely what it is.
We are 3 days into it so far, and I think that, finally, the light that I see ahead of me, isn't an on-coming train.
Unfortunately, in my enthusiasm to get started, I didn't wait long enough to take decent before photos.
Just take my word for it, it was a mess.
And did find these photos, but it is way too tidy, compared to what it looked like recently...

Take note of the brown dresser in the background. If you could see it close up, you would note the drips of dark-stained varnish where the previous owners did a botched job.
And the desk with the chair in front of it is covered in every colour paint you can imagine (only myself to blame there.)


The desk above was rescued from a junk pile by my daugher. It is very functional, but a bit ugly. Hence the tablecloth covering it up.

Ok. First off, I pulled everything out.
Do you notice how it isn't raining?
That is a miracle. Plain and simple.
We have had months of rain. Constantly.
I told my dear heart, that we were going to paint the shed furniture.
He laughed.
He then told me that it was forecast for more rain, and that it would rain for the next 4 days. Heavily.
Not one to be put off easily, I quickly put a word in to Him.
"Dear God, I need dry weather. So would you be so kind as to stop the rain until I get the job finished."
The rain stopped.
The next two days I sanded and scrubbed and painted.
Yesterday morning I had all the furniture outside drying.
Just when I thought that the paint was dry and started to bring it all back in, guess what?
Yep, thats right - huge thunderstorm. And it's been raining since.
No, I don't think it was a coincidence.

Just thought I'd show you some of the paint colours close up.
Empty shed. Notice the new bench? That was in the house, but no longer needed, so dearest one moved it out here for me.
Vacuum cleaner (or as they say in the old country 'the hoover').
Now, I found a sampler pot of paint that my daughter was going to paint her room with. The walls.
I thought I'd see how it would go on this very rustic cupboard. It was used to store a relative's gardening supplies in on a verandah for years.
Now don't let the colour in this photo fool you. It didn't turn out that soft a colour.

No, it was MUCH more retina burning than that.
Bear in mind that she was going to paint her walls in that colour!
It doesnt show up that much in this photo either, but it is nearly fluro...

....so out came the pale pink for another coat.
When it dried, I sanded it to let the red show through a bit.
It is now VERY rustic looking. But I like it.

I have to say that I absolutely love how the dark-stained drippy dresser turned out!
I removed the top doors. Much better.
No knobs put back on the bottom doors yet.

The colour is Island Cruise - wattyl brand I think.

I can see that I am going to be spending way too much time arranging and rearranging things on this dresser.
And I love my folk art painting next to the dresser.
Amazing how a bit of paint can transform things.

Now, I picked some hydrangeas this morning, just for the photo shoot - :) - and I must say they are looking spectacular.
Don't they look brill next to the blue colour?

Also, I think I am going to have to chuck my digital camera.
I took these photos with my phone, and they have turned out far better than I can get them with the camera.
I am very proud of these hydrangea photos.
Very.


And this photo - I can't really believe I took it - and with a phone! Amazing how technology is increasing.

Another one of the dresser - can you tell I like it, lol?

But back to reality - this is the mess I had to sort out once everything was brought back in!

I'll need some heavy duty supplies to deal with this lot....

More of the mess.....

......and even more of the mess.

Ahhh...... finally, a bit of organisation.


Has to be time for a reward....

I will point out, that the cake is a healthy sourdough chocolate cake. :)

cheers
Fi
Thursday, February 9, 2012
Hiding in the box ....
So here I found on a shelf, in a seldom used corner of the shed.......


This painted box.
I wonder what I stashed away in there?
The lid with painted flowers on it might be a bit of a hint.

Ah hah! This is obviously where I threw all those crocheted flowers and bits and bobs, cos I couldn't think of what to do with them.

But, I do like to look at them.
Not sure what I'll do with them - but they are pretty.
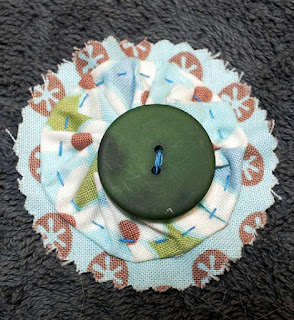
I think some of them were destined to be brooches.
This one has sparkly beads sewn into the centre.

And these are from my 'large rose' phase


And then I went delicate.
A couple of them have some felt sewn onto the bag, waiting to be a brooch, or hat decoration, or something.


Oh, and I tried to needlefelt this one after it was crocheted.
What do you think of the effect? It sort of makes it look vintage, I think.

These were the yoyo brooches that I didn't end up making into brooches.


And these - hmmmm, not really sure.
These were needlefelted and beaded.
Sort of reminds me of the ocean and rock pools.


Another brooch idea.

More needlefelting.

cheers
Fi
Subscribe to:
Posts (Atom)